Building the Parlor Guitars
page 1

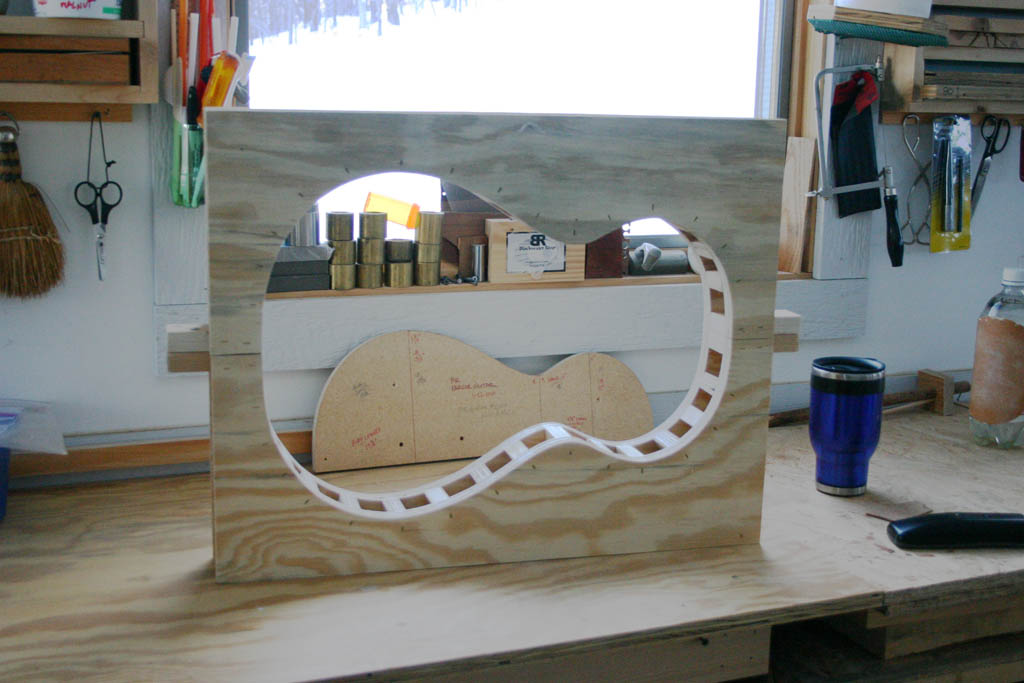
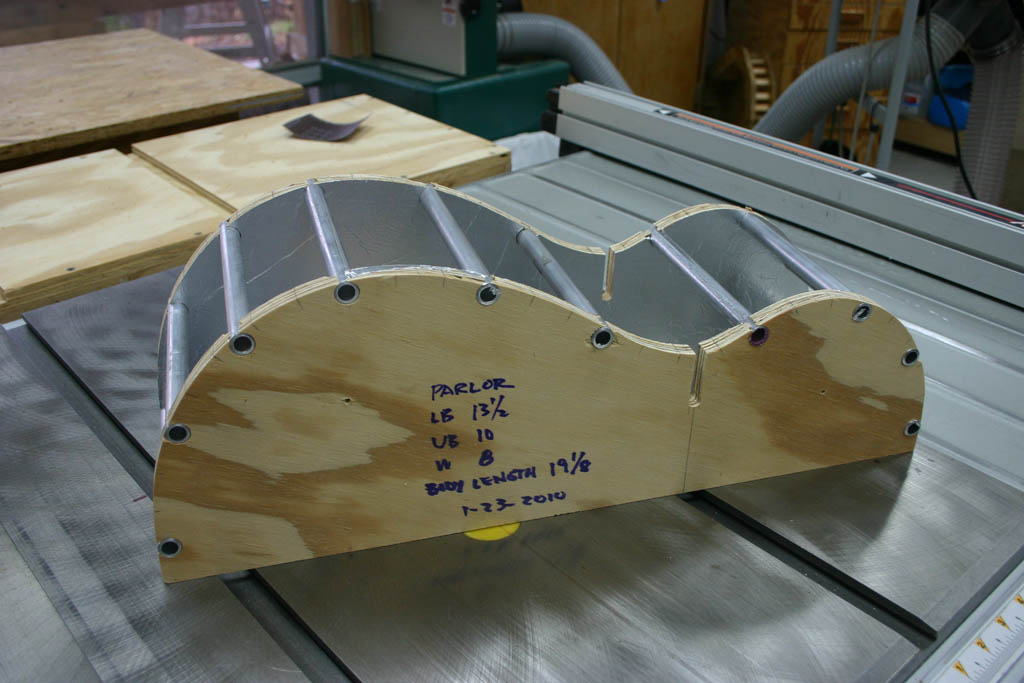
The Body Form
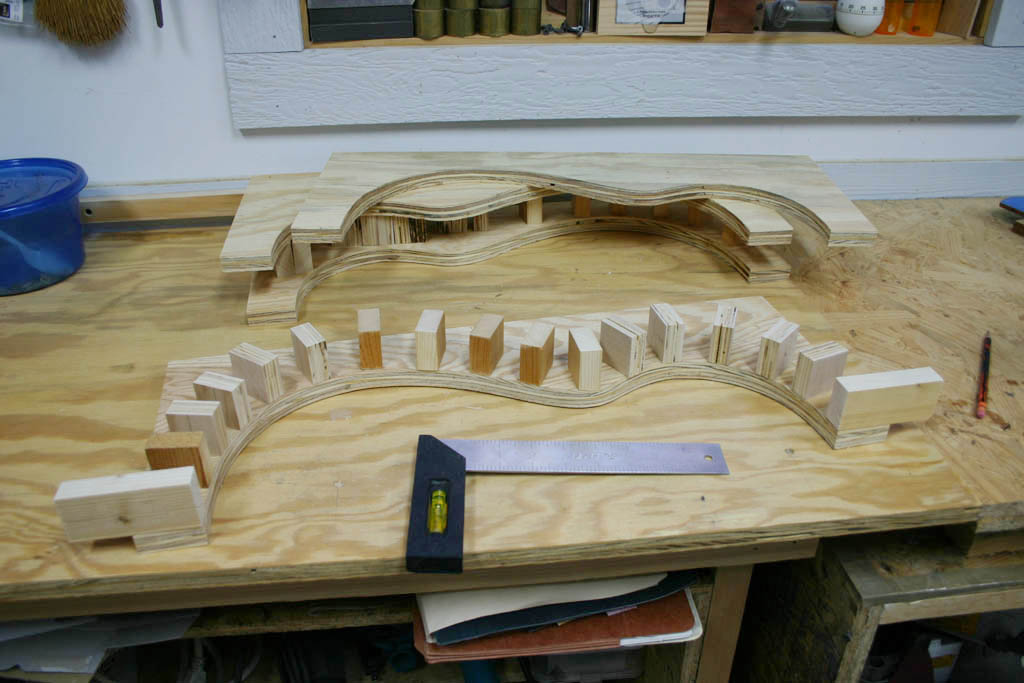
Making the body form
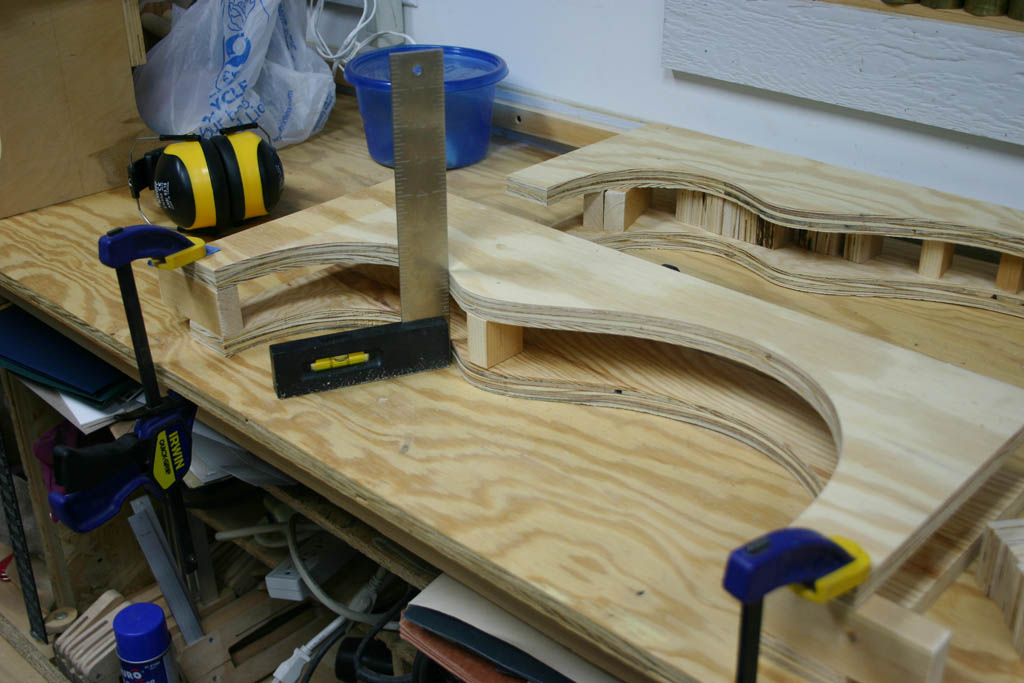
Ensure that the side of the body form is square
The Prototype Rosette
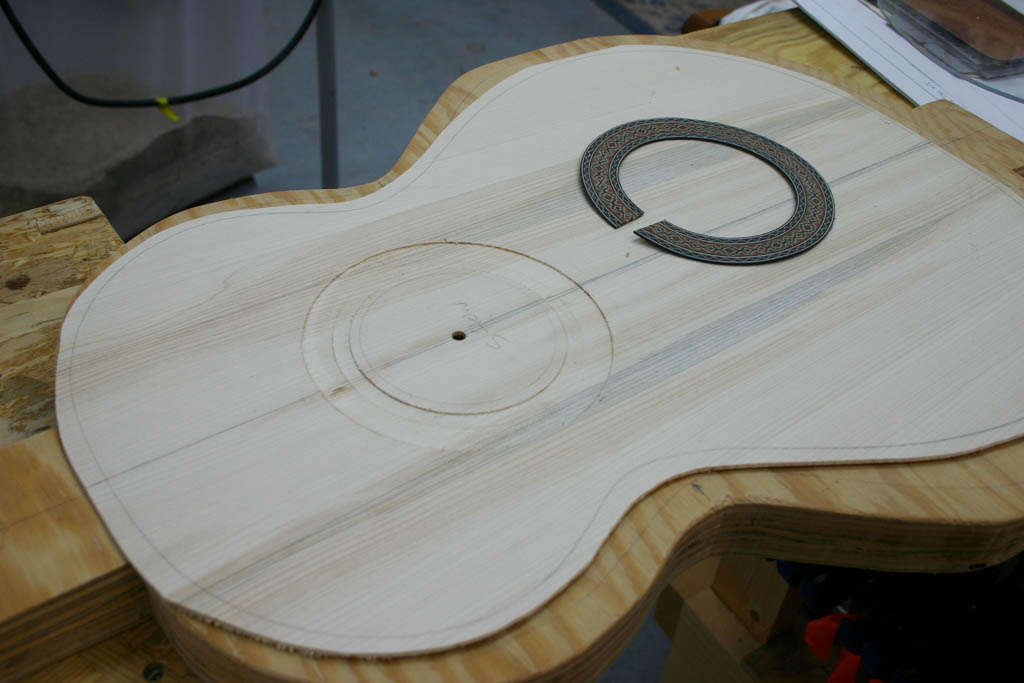
Rosette ready to be glued in
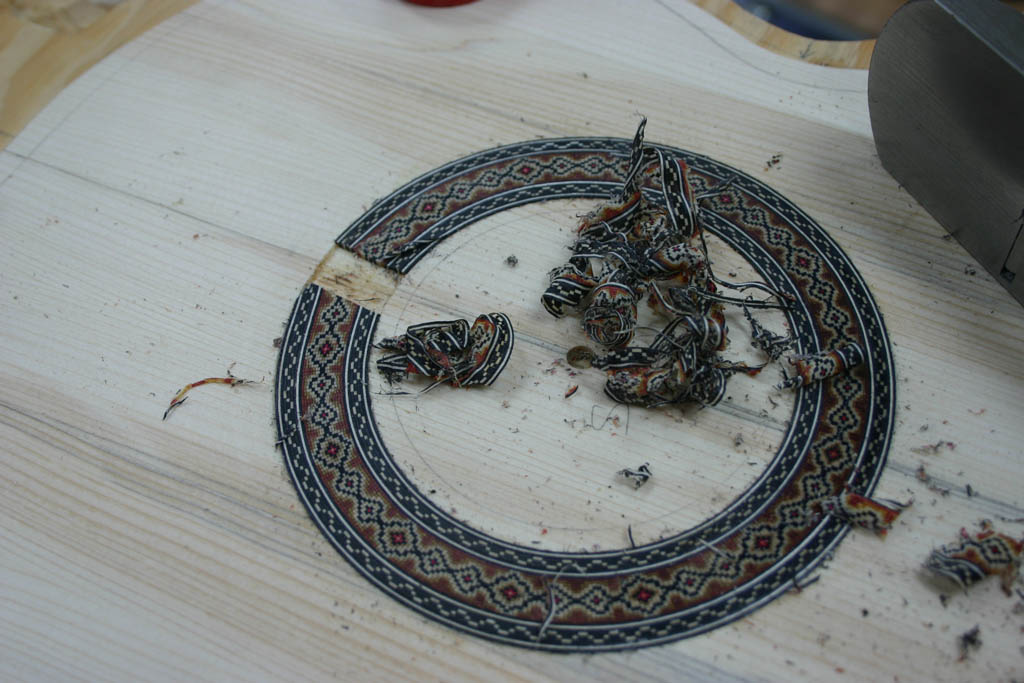
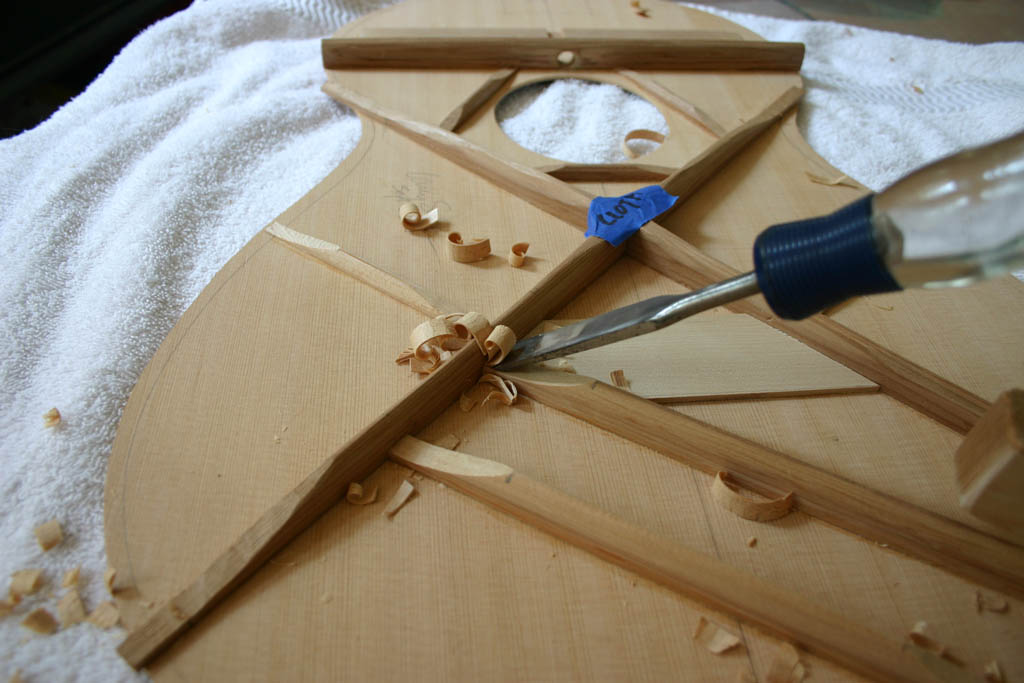
Planing the Rosette Flush
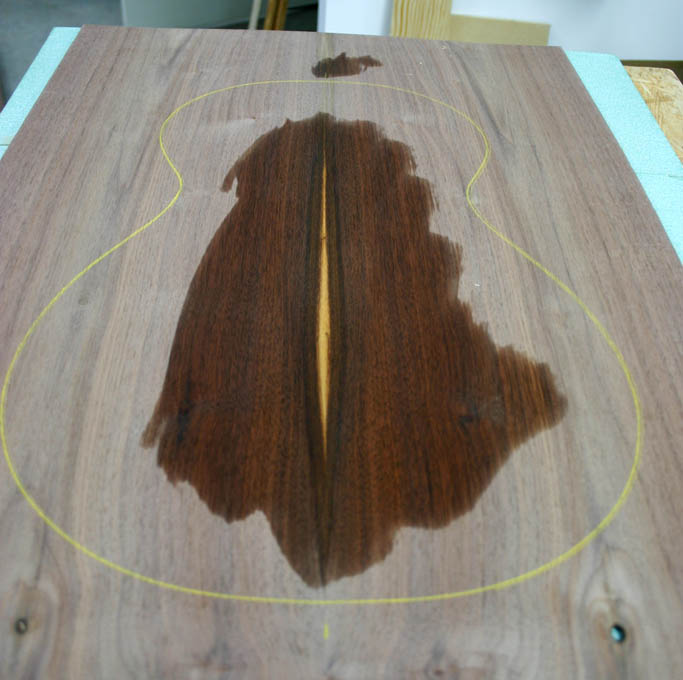
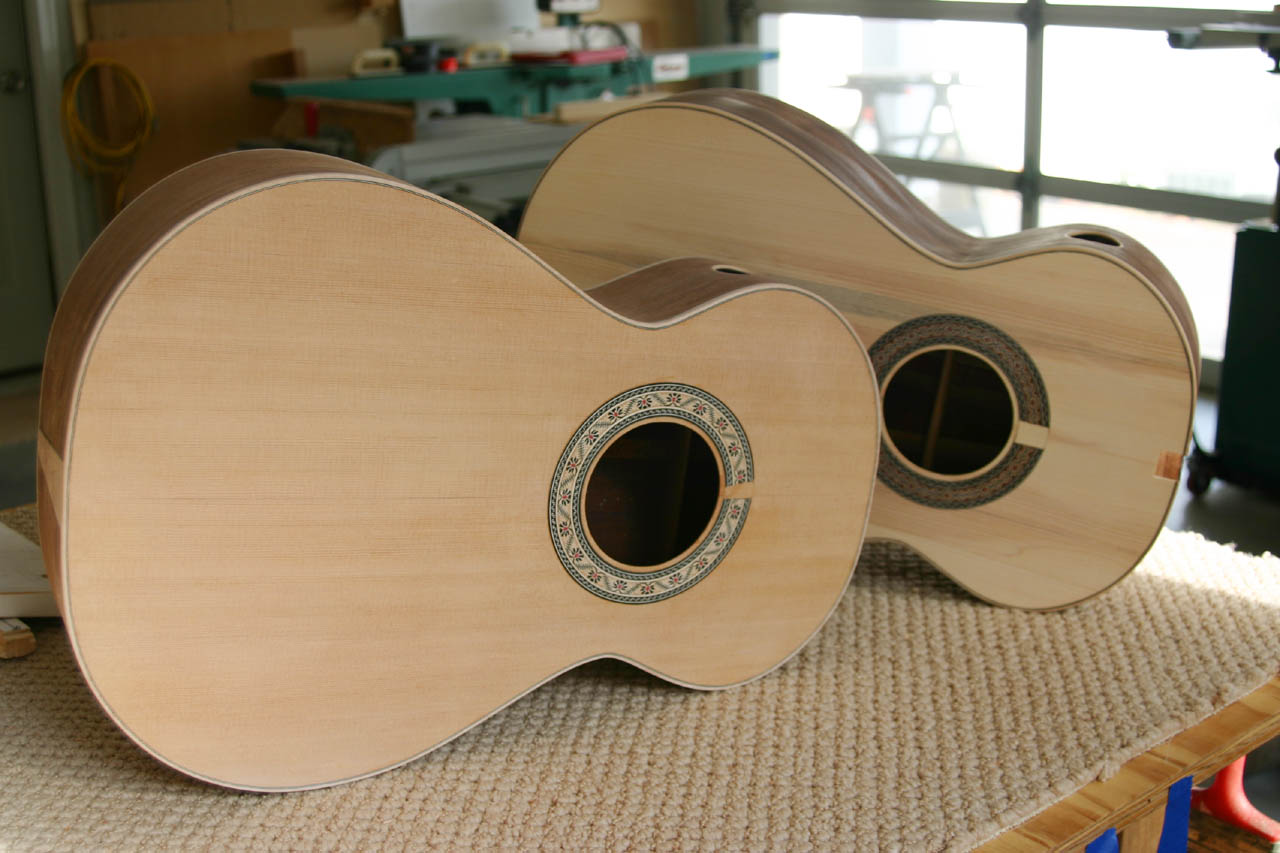
Back rubbed with Naptha to see what the color will be like when the finish is applied
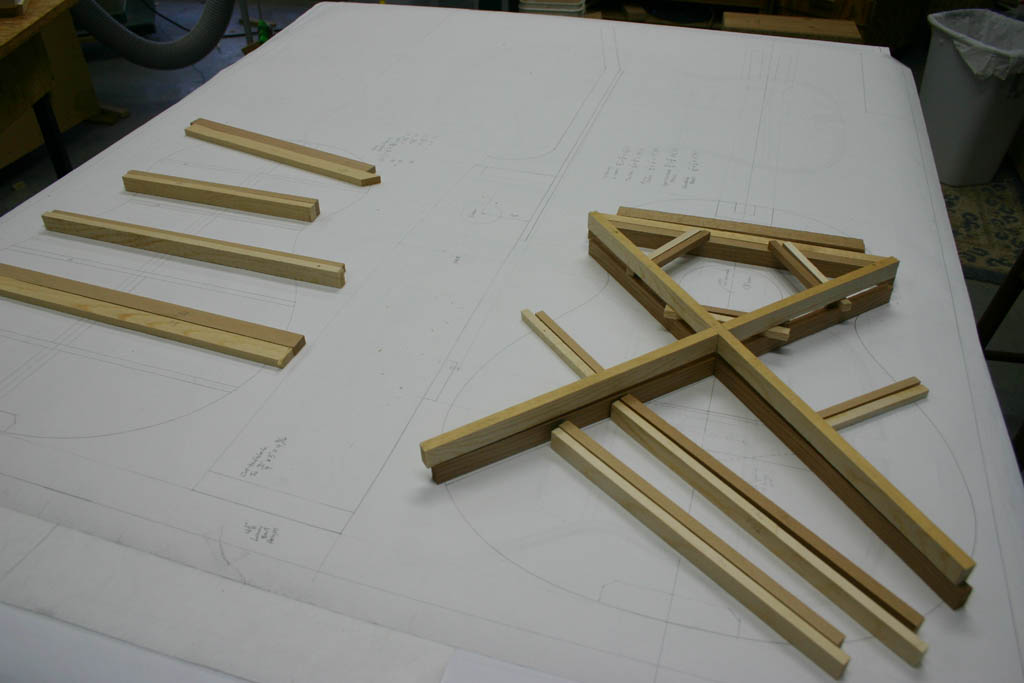
Bracing ready for both guitars
Blackwater River Guitars
Building the Parlor Guitars - page 1
| Page 1 | Page 2 | Page 3 |
| Parlor #005 Gallery | Parlor #004 Gallery |
Introduction
My good friend, Mike Dittrich, asked me to build him a parlor sized guitar. After looking at a number of historical and contemporary parlor guitars, I drew up a couple of body shapes. With a couple of tweaks to the shapes, Mike and I agreed on the one I would build.
Since this was a new shape and I wasn't an experienced guitar maker (only 3 completed when I started these), I decided to build one for my wife, Sally, as the prototype for Mike's guitar. The prototype would give me an opportunity to test templates and procedures. I decided that I would use as much scrap wood as possible to build the prototype.
The Specs
Coming Soon
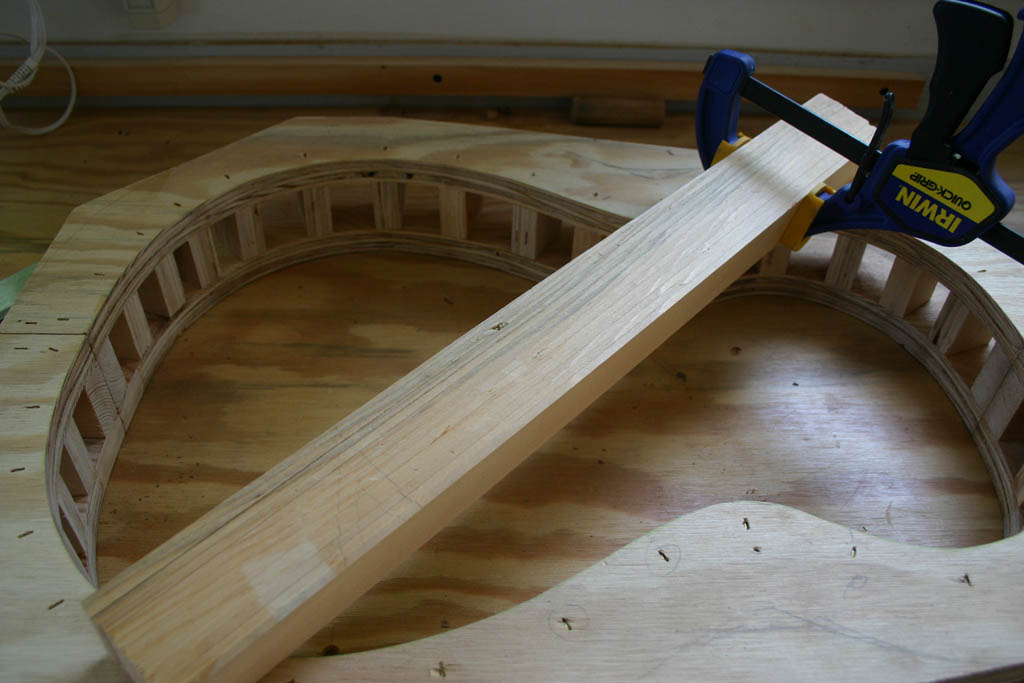
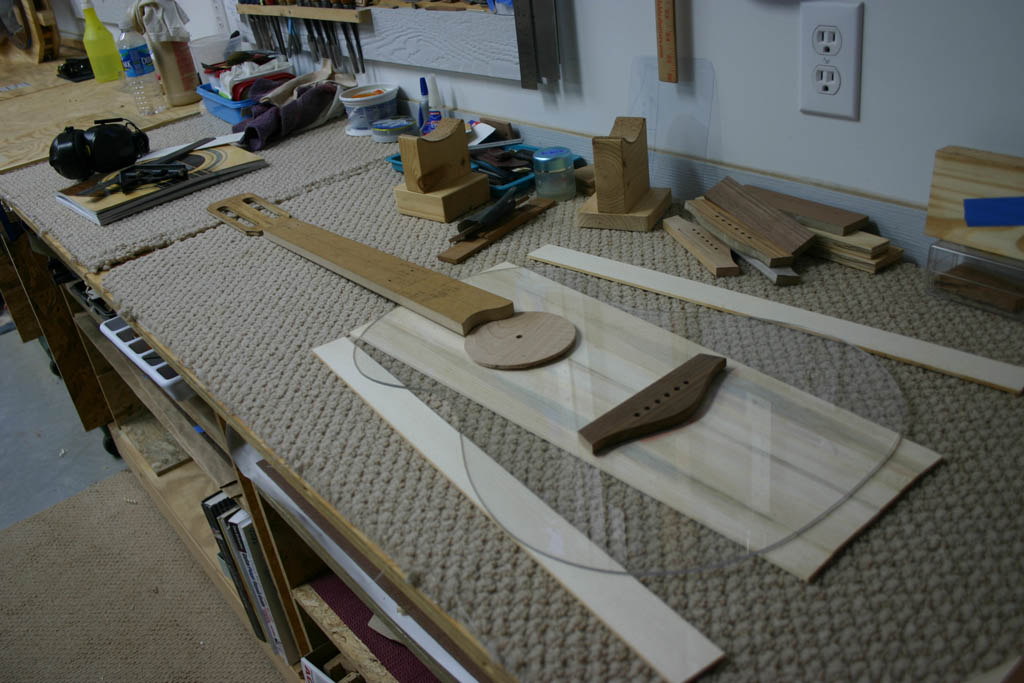
The Drawing, Template, Body Form, and Bending Form

In these photos you can see the drawing, clear body shape template, the building form and the side bending form.
With the clear template, I can place it on the back (or top) pieces before cutting it to size, to see what part of the back piece gives the best grain pattern.
Click on any photo to see a larger image.
.
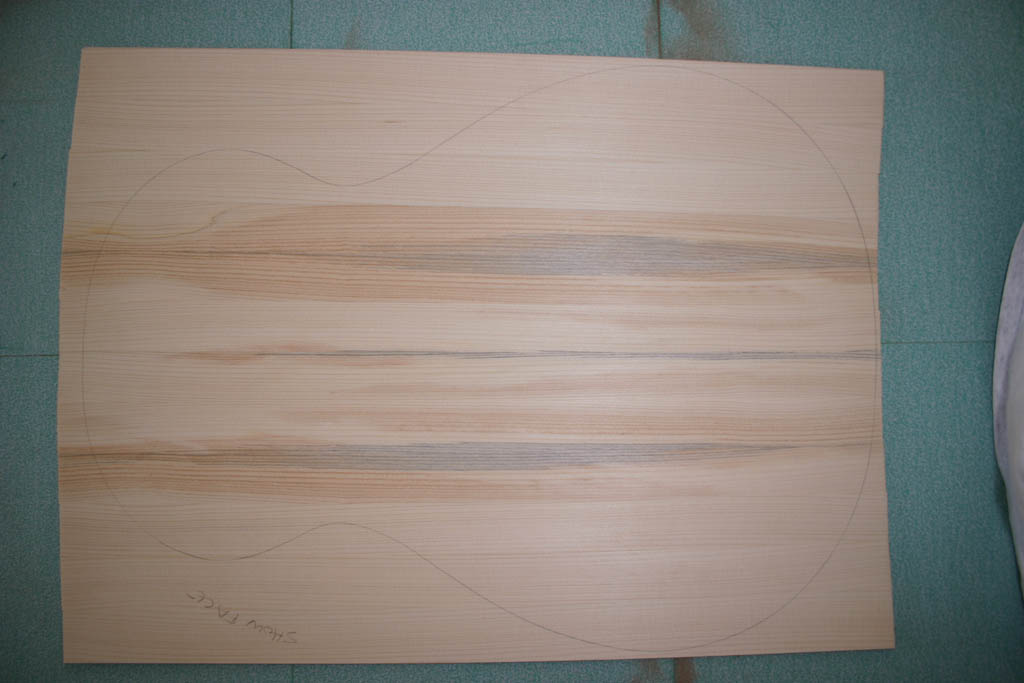
The Prototype Soundboard
There was a piece of spruce 2x4 leftover from the construction of my workshop that had interesting blue and brown streaks on the side.
The grain was straight and oriented so that slices of the board would be essentially quarter sawn. The photo on the right shows the sliced up 2x4 put back together.
To make sure I got enough good slices to build a full top, I used a 7-1/2", 1/6" kerf blade on the table saw to slice up the 2x4.
I tried a number of orientations of the strips. The photo at left shows my attempt to get an idea of what certain orientations would look like on the final guitar.
Here's the finished glue-up of the 2x4 sections to make the top. I have no idea what it will ultimately sound like, but when tapping it, it resonates like other tops I made.
The Cedar Soundboard and Rosette
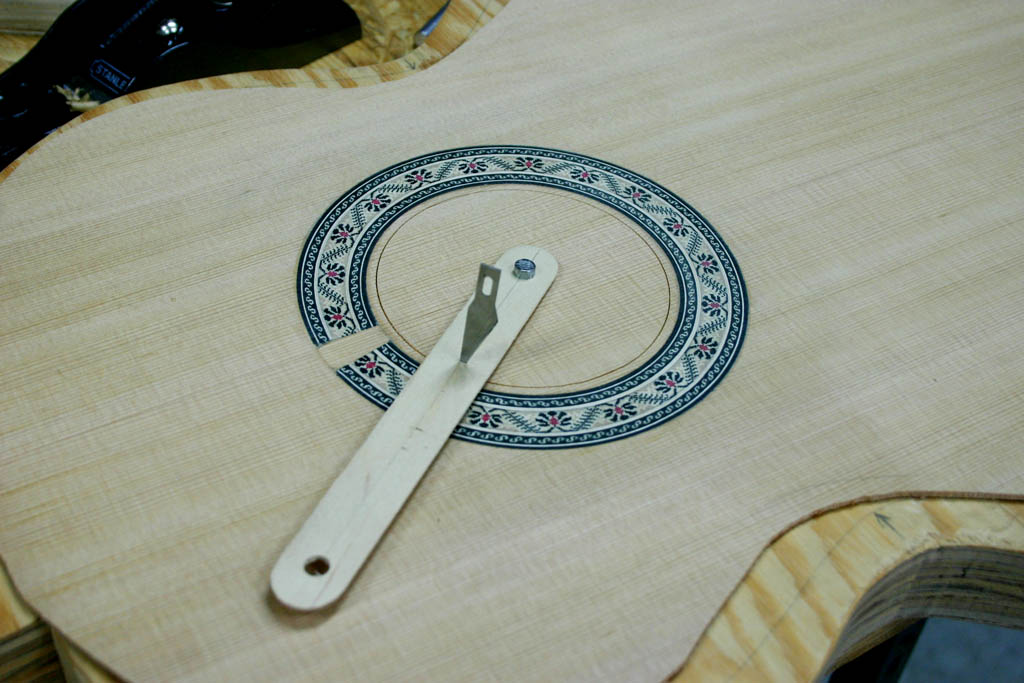
Mike wants a cedar top for his guitar so I got one from Stewart-McDonald.
Here's a picture of the cedar top with the handmade Russian rosette (from Luthiers Mercantile International.
The picture also shows a low tech way of cutting the soundhole using a wooden stick and an X-acto blade. I learned this trick from Cumpiano and Natelson's book, "Guitarmaking, Tradition and Technology."
The Walnut Backs
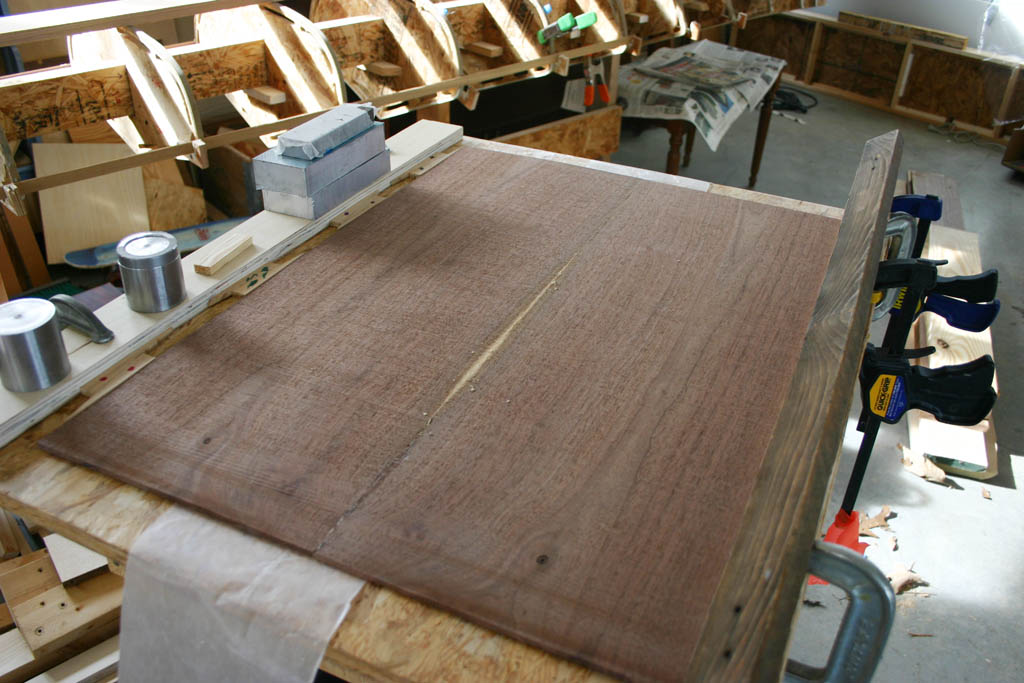
My friend and fellow luthier, Chet Dickerson, had some walnut back and side sets. Mike picked out the pieces for his guitar. They have some sapwood that creates an elegant light stripe down the back.
For the prototype, I picked up a piece of walnut from the discard bin from custom cabinetmaker, Gary Montgomery. After milling to size, it wasn't wide enough for a two piece back so I made a 4-piece back using two pairs of book-matched pieces.
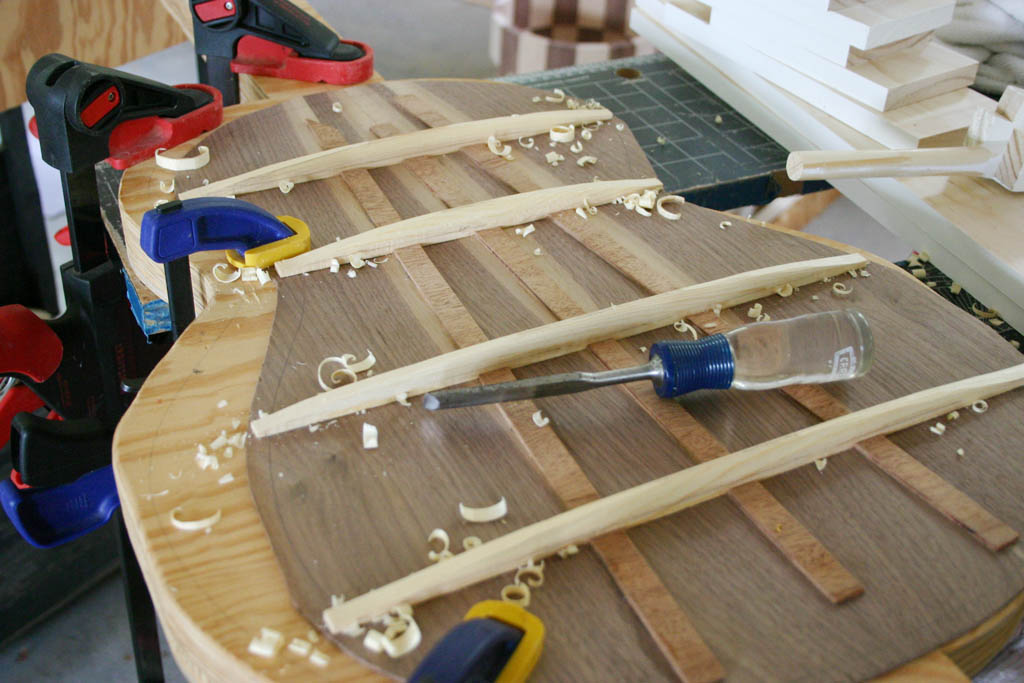
Bracing
These photos show the bracing on the top of Mike's Guitar (Martin type X-bracing) and the back of the prototype (standard "ladder" bracing).